Week Forty-Five: Potent or Unusual Flavors
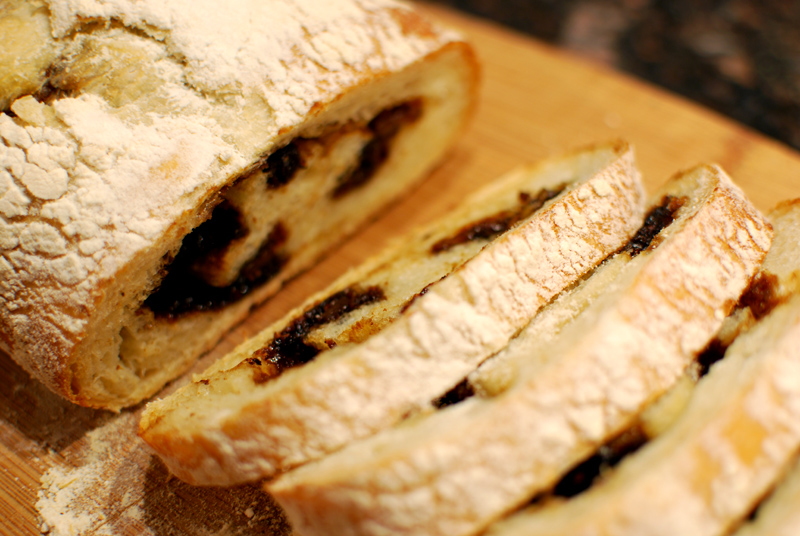
Fair warning: this bread is inedible.
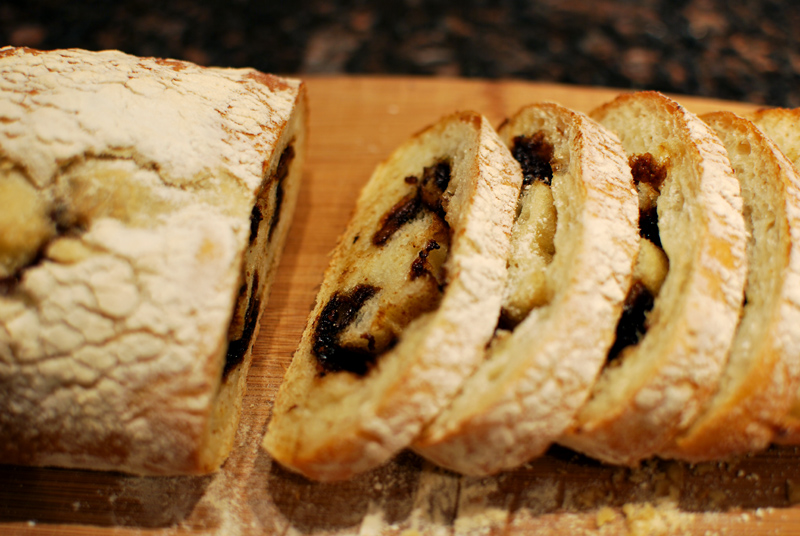
That said, this recipe could be tweaked to produce an edible bread; in fact, the bread part of the loaf is quite delicious. But with the garlic filling, it’s absolutely, entirely, totally not even possible to choke it down. And this from a girl who thinks 40 Clove Chicken is for the milquetoast and faint-hearted.
I concocted this bread based on two pictures, an ingredient list, and some laconic descriptions of a loaf made by Brasserie Bread, in Australia. (It’s not quite the ideal method for recipe development, but it’s one that has proved adequate enough in the past.) I knew only that it involved the titular “caramelised garlic”, is supposed to be one of the bakery’s more famous creations, and sounded absolutely incredible.
Judging from the way the loaf slumped in the photographs, I could tell it was made with a wet dough, one that would produce an open-textured, crisp-crusted bread. But the most befuddling part was, of course, the crux of the bread, the caramelized garlic.
There’s two ways to caramelize something like garlic. One is to add sugar to the garlic, and cook until the sugar turns into a caramel syrup around it. The other is to actually caramelize the natural sugars in the garlic, by cooking over low and slow heat, as when you caramelize onions. The vague accounts of this bread were helpful enough to suggest the former, by saying that “whole garlics are caramelised in a sugar syrup with balsamic vinegar and cracked black pepper corns.”
But how were these “whole garlics” prepared before cooking with this sugar syrup? Blanching garlic is common, and supposedly removes bitterness before cooking, so I elected to try such a method. This seemed to work well enough, but I charred the little darlings while cooking them in the syrup, made up only of balsamic vinegar, brown sugar, and a bit of olive oil. Despite a bit of blackened flavor, they ended up tasting good, but they also tasted incredibly strong. I wasn’t aware that garlic could taste so… garlicky.
Thinking that there was no way any human could take a bite of one of these cloves and survive intact, I chopped them up, to more evenly distribute them throughout the bread. But then, for reasons unknown even to myself, I added the entire head of caramelized garlic to the dough. The whole thing.
Maybe I thought that by chopping them, somehow the potency would be reduced, or perhaps just spread it more evenly rather than bursts of truly overwhelming flavor; but that clearly didn’t happen. No, even the bits of bread that had not touched the garlic tasted of nothing else, though the texture was spot-on. It was all rather sad.
This bread was not a total failure, as it marked the first time I’ve tried one of the excellent recipes from the lauded Artisan Bread in Five Minutes a Day; I don’t think I need to remind you that the dough itself was the only saving grace of this disaster. And the aroma in the house was actually quite mouth-watering, if strong. But unless you regularly go through entire heads of roasted garlic in single sittings, I’d skip the filling on this one.
Caramelized Garlic Bread
Adapted in part from Artisan Bread in Five Minutes a Day, by Jeff Hertzberg and Zoe Francois
Makes 1 loaf
For the dough:
9 ounces (2 cups) unbleached all-purpose flour, plus extra for dusting as needed
1½ teaspoons yeast
1½ teaspoons kosher salt
1 teaspoon sugar
1 cup water
1 tablespoon olive oil
For the caramelized garlic:
1 head garlic, separated into cloves and peeled
2 tablespoons brown sugar
2 tablespoons balsamic vinegar
1 tablespoon olive oil
2 teaspoons whole black peppercorns, crushed
1. To make the dough, whisk together the flour, yeast, salt, and sugar. Add the water and olive oil, and mix until smooth and all flour is moistened. Cover well, and let sit at room temperature for about 2 hours. Transfer the dough to the refrigerator, where it should sit for at least 12 hours and up to 12 days.
2. When ready to continue, remove the dough from the refrigerator and let sit at room temperature while you make the caramelized garlic. Place the peeled cloves in a small saucepan and cover with water. Bring to a boil, and cook for 5 minutes. Drain the garlic, and chop into smaller pieces if desired. In a flat pan, combine the blanched garlic, sugar, vinegar, and olive oil. Cook over medium heat until syrupy and thick. Remove from heat, add the crushed peppercorns, and let cool to room temperature.
3. Sprinkle a baking sheet with cornmeal, or line with parchment paper. To make the bread, turn the dough out onto a floured work surface. Flour the top, and gently press into a flat rectangle, being careful not to deflate it too much. Drop or spread the garlic evenly across the surface of the dough.
4. Starting with a long side, roll the dough up jelly-roll style into a long cylinder, pinching the seam to seal. Transfer the roll to the prepared baking sheet, seam-side down. Tuck the ends underneath, for a more even shape. Dust liberally with flour, cover loosely with plastic wrap, and let rise at room temperature for 30 to 60 minutes, or until doubled in size. Dough is fully risen when an indentation remains in the side after prodding gently with a fingertip. Preheat the oven to 450º F, with a baking stone if possible. Place a rimmed pan (cast iron is ideal, but any pan will do) in the oven to heat also. Meanwhile, heat 1/2 cup water to just simmering.
5. When fully risen, quickly slash the loaf with a sharp serrated knife 3 to 4 times, letting only the weight of the blade press into the dough. Pour the heated water into the hot pan in the oven, and place the dough on the baking stone. Bake at 450º F for about 30 minutes, or until golden brown and fully cooked. Transfer to a wire rack to cool thoroughly before slicing.
Notes:
1. Again, this bread is inedible when made as written. Not even joking.


Ah, too bad, but these things happen sometimes. Just a comment from another garlic-loving girl.
Garlic turns incredibly sweet when roasted, but any time you cook the garlic and it darkens it releases a chemical that oxidizes and has a very bitter taste.
I could be remembering this wrong, but I don’t recall the garlic itself tasting particularly bitter (a taste I’m intimately familiar with, having burned more than my share of garlic). It was just unbelievably strong. I actually don’t think I burned the garlic (it looked white inside when I cut it up), I think I over-caramelized the sugar (it was chewy and even hard some places). With the balsamic vinegar added to it, though, there was really no telling how dark anything had gotten. But thanks for the comments!