Week Thirty-Five: East Asian Breads
One of my great pleasures in writing this blog is to discover a totally new bread, one that I’ve never even remotely heard of before. It’s kind of amazing, when I think that surely I’ve made every type of bread imaginable, to come across one that still manages to surprise me.
Occasionally, in researching my weekly themes, I’ll notice a word I’ve never seen before, a fleeting reference to some bread as yet unknown to me. Upon further study, I more often than not turn up a small but devoted group of people, creating versions of and discussing these rare loaves. Sometimes, these discussions are even in English.
This was exactly the case when I stumbled upon today’s bread, pan de sal. This Filipino bread has stirred up more nostalgic passion, ire, and frustration than any other I can recall. Never personally having been to the Philippines, I can’t speak with real authority here, but word on the street is they just don’t make ’em like they used to!
I’ve heard the same argument for other items, bagels in particular, but it doesn’t seem to be quite the same problem. For although sub-par bagels have certainly infested the grocery stores and breakfast shops across this nation, it is still possible to find excellent bagels if you know where to look. And besides, old-school bagels have champions fighting for their cause from Atlantic to Pacific, and beyond.
Classical pan de sal, on the other hand, seems to be a dying breed. Modern versions are softer, sweeter, and the individual rolls are much smaller than their forefathers, which were more baguette-style in texture. Many Filipinos seem to blame this denigration (notably the decrease in size) on price controls, which result in less bread for your money, but certainly the declining quality and increasing cost over the years of available wheat flour is also to blame. It is unclear who is fighting for the fondly-remembered pan de sal of the 50’s and 60’s; but sadly, there don’t seem to be very many among their ranks.
The name of this bread, like the bread itself, finds its origins in the long-time Spanish occupation of the Philippines. “Pan de sal” literally means “salt bread” in Spanish, though the flavor is not actually salty. It apparently refers to the use of any salt in the dough, and is perhaps the most popular yeast bread in the whole nation. It’s most commonly eaten for breakfast, though appearances at lunch or snack time are by no means rare. The rolls are not usually served plain, but are often topped or filled with anything you can think of, from butter to sausage to fruit and everything in between.
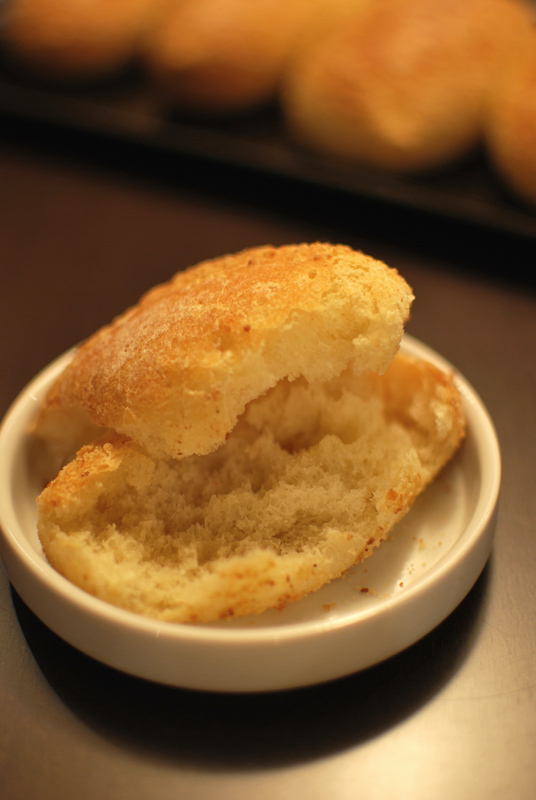
Traditionally, the texture of pan de sal is tender and moderately airy, but not cotton-soft, as they have become in modern times. The crust, soft these days from the increased use of sugar, dairy, and eggs, was formerly hard, in the style of many artisanal Spanish breads.
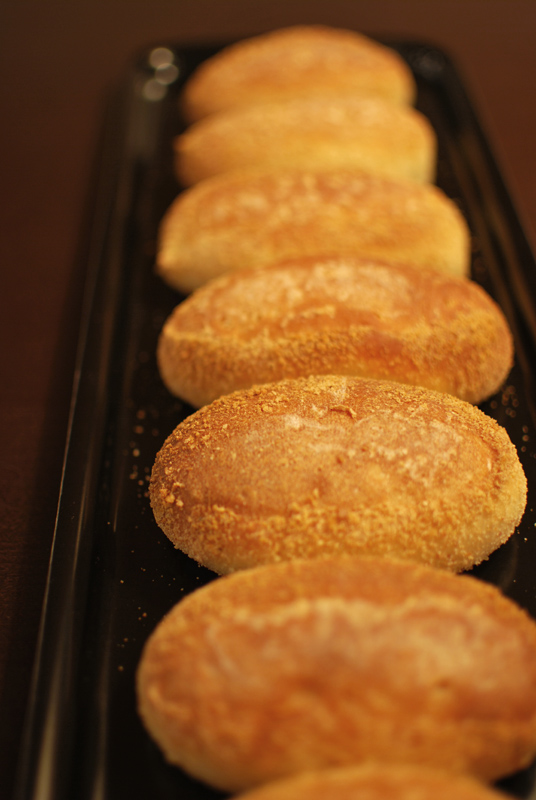
But the main defining characteristics, which have endured despite all the other changes, are the coating of bread crumbs, and the special method of shaping the rolls, which I’ve shown pictured in the recipe. Typically, plain bread crumbs are used, but I’ve used seasoned bread crumbs, to make them more visible in the photographs. Use whatever type you like, homemade if at all possible.
I’ve also used a non-traditional method that requires at least an overnight (and up to 3 days) rest in the refrigerator, which produces some truly excellent, complex flavors. However, if you need your bread a little sooner, I’ve also given instruction for that.
This bread ended up with a crisp, golden-brown crust that had a hint of crunchiness from the bread crumb coating. The interior was tender and open, but had a definite pull to it; this is certainly no rich, overly-sweet roll. The sugar here is kept to a minimum, giving only a faint sweetness, but feel free to increase it if you prefer.
I know I’ve never tried pan de sal before, either modern-style or traditional, but given the fond recollections I’ve seen discussed online, I imagine I’ve come pretty close to a classical pan de sal here, and I’m hooked. No matter what the state of affairs in its homeland, pan de sal will always have a champion on this side of the ocean, in my kitchen.
Pan de Sal
Adapted from Market Manila and Apple Pie, Patis, & Pâté
Makes 18 to 24 rolls
19 ounces (4 cups) unbleached bread flour, plus extra as needed
1 1/2 teaspoons instant yeast
2 teaspoons salt
1 to 2 tablespoons sugar, depending on sweetness level desired
1 egg, lightly beaten
1 tablespoon vegetable oil
1 1/3 cups cold water, about 40º F (see note 1 below)
1/4 cup bread crumbs (approximately)
1. In the bowl of a stand mixer, whisk together the flour, yeast, salt, and sugar. Add the egg, oil, and water. Using the dough hook, mix on low speed until all the flour is moistened, about 1 minute. Increase the speed to medium-low, and knead for 5 to 6 minutes. The dough should clear the sides of the bowl, and should be smooth and just a little sticky to the touch. Add a little extra flour or water during the kneading process, if necessary to achieve the proper consistency.
2. Transfer the dough into a lightly oiled bowl. Cover tightly with plastic wrap, and refrigerate immediately. Chill the dough overnight (or up to 3 days), checking periodically and pressing it down if it starts to rise. Two to three hours before shaping, take the bowl out of the refrigerator, and let come to room temperature before proceeding. If the dough starts to rise more than double its original size, press it down to deflate, and proceed with the recipe.
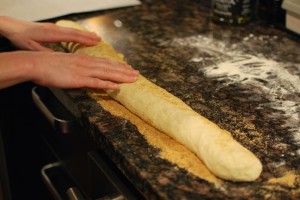
3. Turn the dough out onto a lightly floured surface. Gently press the dough into a flat oval. Starting with one long side, roll up into a long cylinder, pressing to seal the dough as you roll. Rolling underneath your palms, and pulling gently as needed, lengthen the cylinder into a long, thin rope, 1 to 2 inches in diameter, depending on the size of rolls desired.
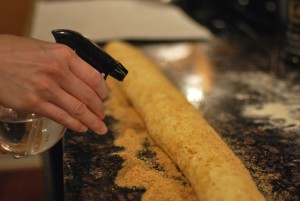
4. Scatter the bread crumbs across the work surface. Gently roll the dough in the bread crumbs until completely coated.
If the crumbs do not stick, spray the dough with a little water, then coat again.
Cover loosely, and let rest for 5 to 10 minutes. Lightly grease a large baking sheet, or line with parchment paper.
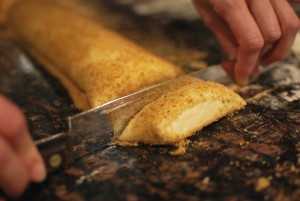
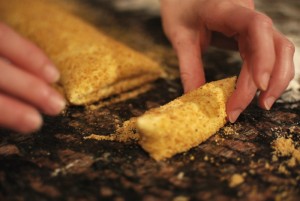
5. Using a wooden bench scraper (not metal), or the dull back side of a knife, cut the rope of dough into 1 inch pieces.
Transfer each piece to the prepared baking sheet, cut side up.
Leave around 1 inch of space between each piece. Cover loosely with lightly oiled plastic wrap, and let sit at room temperature until doubled in size, about 1 hour. The rolls should touch each other as they rise. Thirty minutes before baking, preheat the oven to 425º F.
6. When fully risen, bake the rolls at 425º F for 10 minutes, then rotate the pan 180º. Continue baking for an additional 5 to 10 minutes, or until well browned. Transfer to a rack to cool thoroughly.
Notes:
1. If you prefer to have your pan de sal the same day you make the dough, use room temperature water, and do not refrigerate the kneaded dough. Simply let it sit, covered, at room temperature until doubled in size, about 1 hour. Proceed with the recipe.
2. In step 5, you can use whatever device you prefer to cut the individual rolls. The only caveat is to choose something extremely dull, as even a metal bench scraper will make too clean a cut. The goal is to pinch the dough a bit as you cut it, making it stick a little and not open too much as it rises. Wood is ideal, but whatever you have around will surely do the trick. The back of a knife worked well for me, but please be extremely careful when handling a knife thusly – it’s easy to slip!

I left the dough to ferment in the fridge for 36 hours (no, I’m not a patient person, I was just to busy to proceed with the recipe), pressing it once or twice a day to prevent it from rising and all I have to say is that the bread turned out fantastic. With a crunchy crust and a soft centre, you can be sure that it is a bread worth making. And they were equally good the next morning. Thank you for one more successful recipe, Beth!
Elisabeth: So glad you enjoyed this one. I have to say, it’s near the top of my list of favorites for the year. I only let my dough sit in the refrigerator overnight, and it turned out very well; but I bet it was just amazing after 36 hours!
Beth, your pan de sal looks and sounds perfect! My 79-year-old dad and I once had a discussion of how the perfect pan de sal should be. Your finished product sounds like the pan de sal he grew up with – crunchy on the outside, soft on the inside, not too sweet. Here in the Philippines, laborers have warm, freshly baked pan de sal for breakfast and dip it in their coffee. In its high-end version, pan de sal is eaten with soft white cheese. When I’m abroad, pan de sal is one of the two Filipino foods I miss. (The other one is pancit – noodles with shrimp, vegetables and meat, which goes well with pan de sal). Thanks for featuring our bread!
TJ: Thank you for your lovely comment! This bread really was fantastic; I love the idea of pairing it with soft cheese. Thanks for reading.